01-home-art-pottery-studio-decor-diy-plants

This project has been a LOOONG time coming! So long that you might have forgotten that I first mentioned it over a year ago (if you follow me on Instagram). In February 2020, I started taking pottery classes at Still Life Studios in their new Santa Monica location and after 6 classes... BOOM! The pandemic hit. It was the end of March, I looked forward to going to the studio every week, I had finally gotten the hang of wheel throwing, I had just made my first planter completed with a saucer, I fell in love with ceramics, and then... all classes were cancelled. Not to sound dramatic but I felt like my dreams were being crushed.

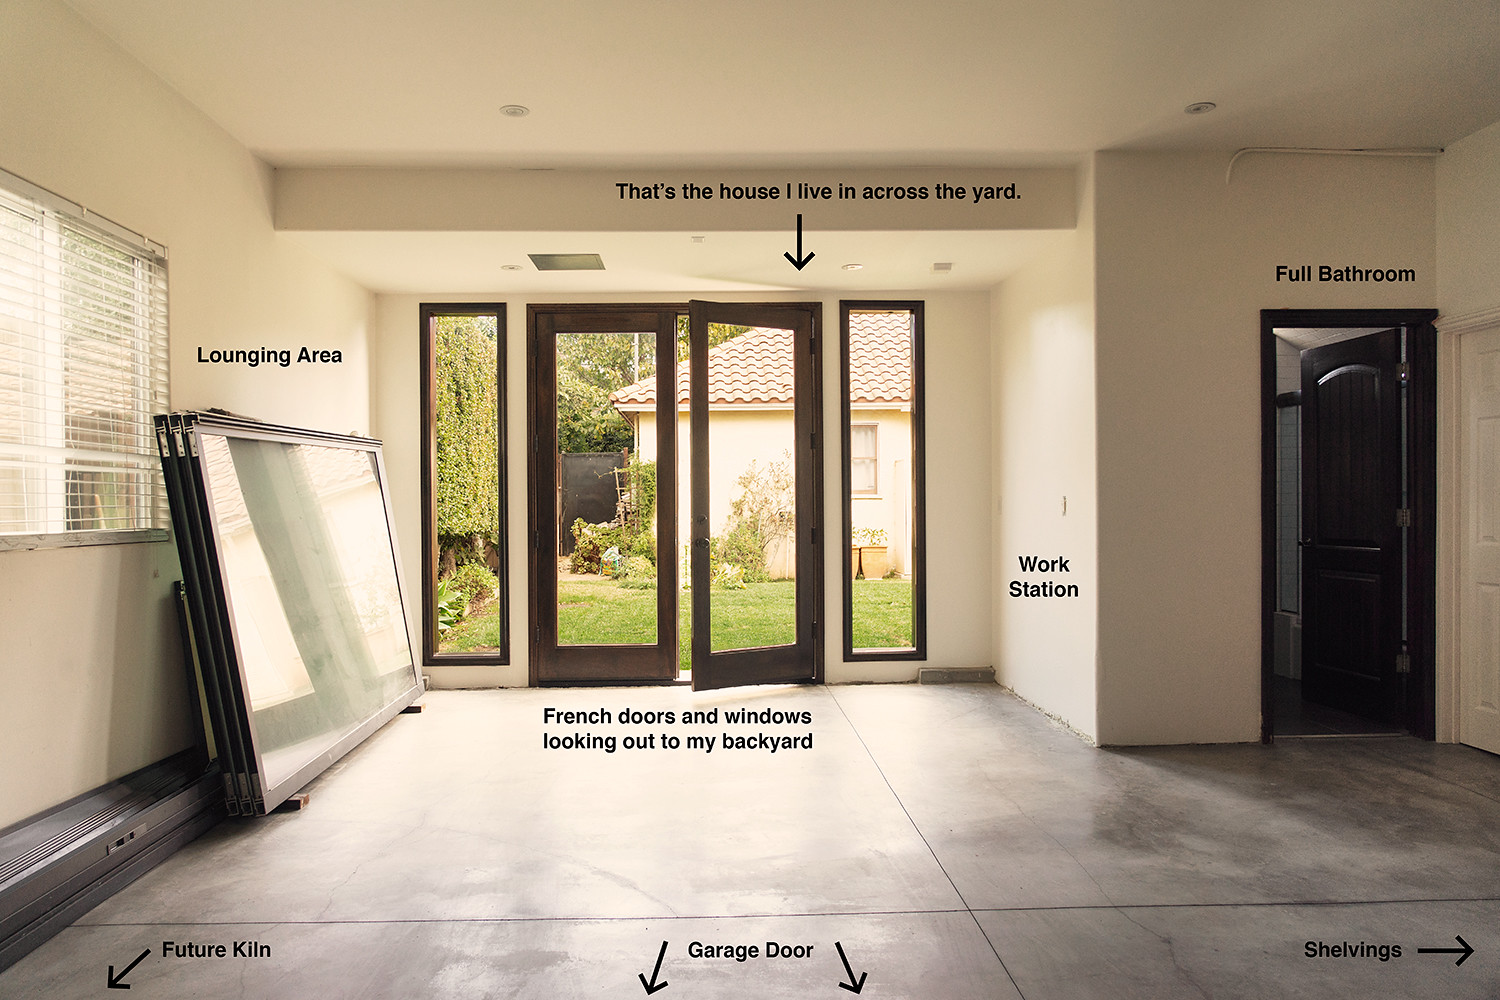
Fast forward to June, my landlord told me he and his family were moving in July (they live in the backhouse, we live in the front/main house) and when they leave, I can have their garage. I was stoked because I immediately thought "I can do pottery in the garage!!!" Suddenly, I felt a huge sense of hope! The garage isn't your typical garage. It has floor to ceiling windows and french doors that open up to our backyard, a full bath, as well as a side door that opens up to the side of the house. Immediately, I started researching and planning how to set up my own home studio and what kind of equipment and tools I need.

July arrived and Covid cases were on the rise, so my landlord and his family have decided to hold off on moving until further notice. I also decided to hold off on planning because at that point, everything was up in the air and I had no idea when they would actually move or when I would have the garage. Long story short, they finally moved in November but they hadn't completely cleared out all their things in the garage but I began planning again and now an entire year later, I can finally say I have my studio 75% set up!!!

I debated a long time when to post about the studio because like many other home projects, it can never be truly complete. There will always be things you want to work on, change, and improve. So, I've decided to split it into two parts and share with you first the space and the decor side of things...
 
02-home-art-pottery-studio-decor-diy-plants03-home-art-pottery-studio-decor-diy-plants

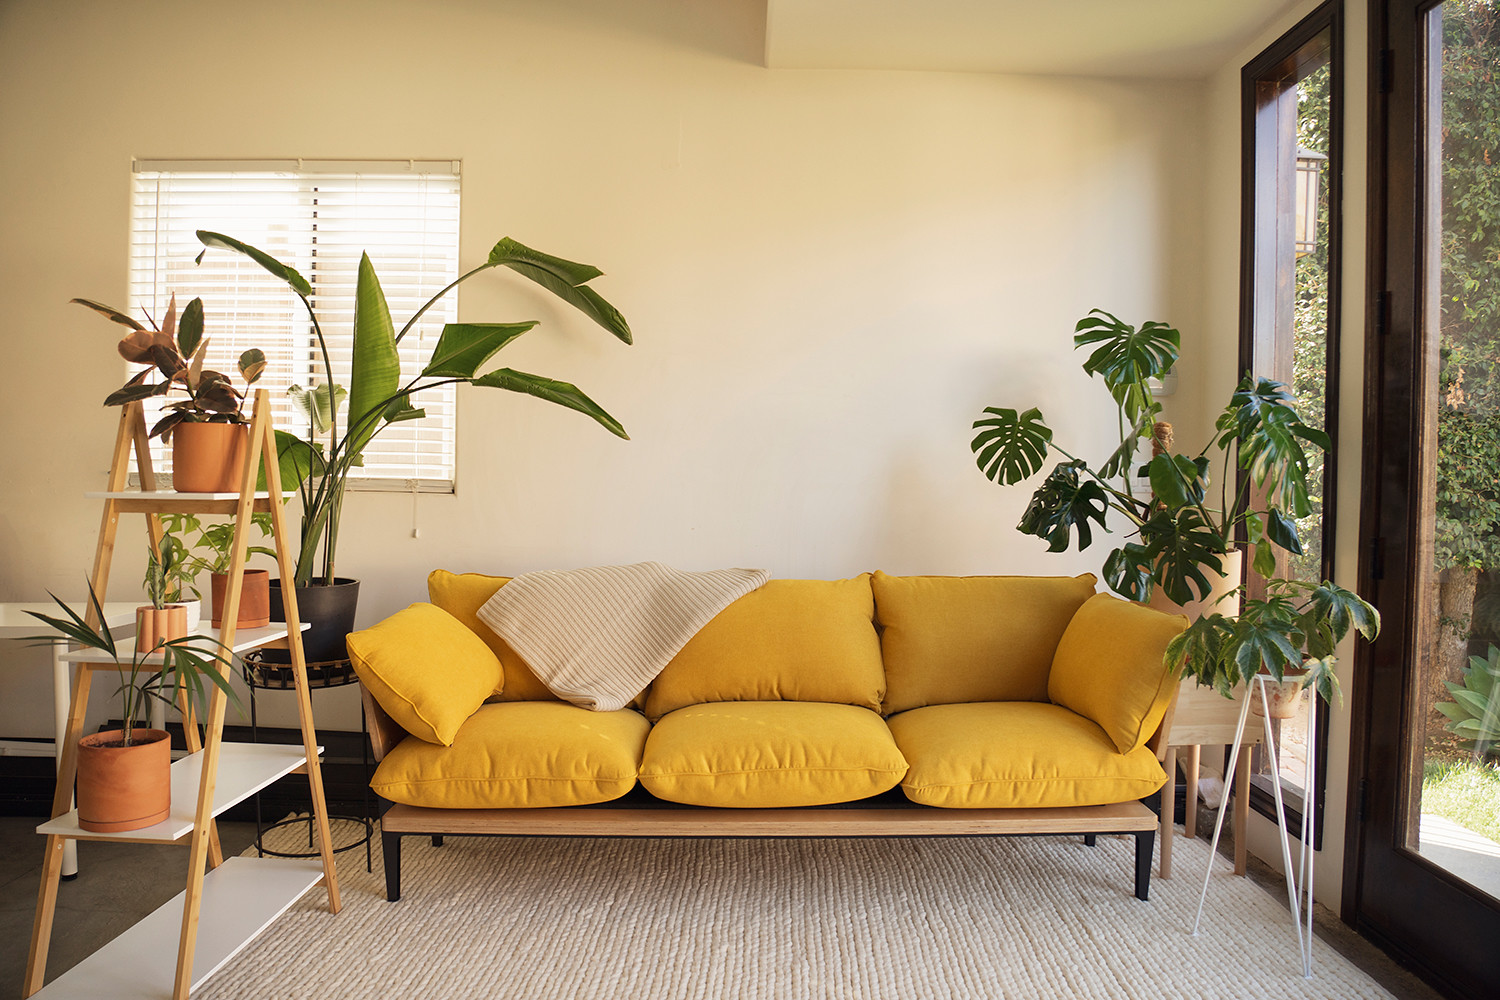
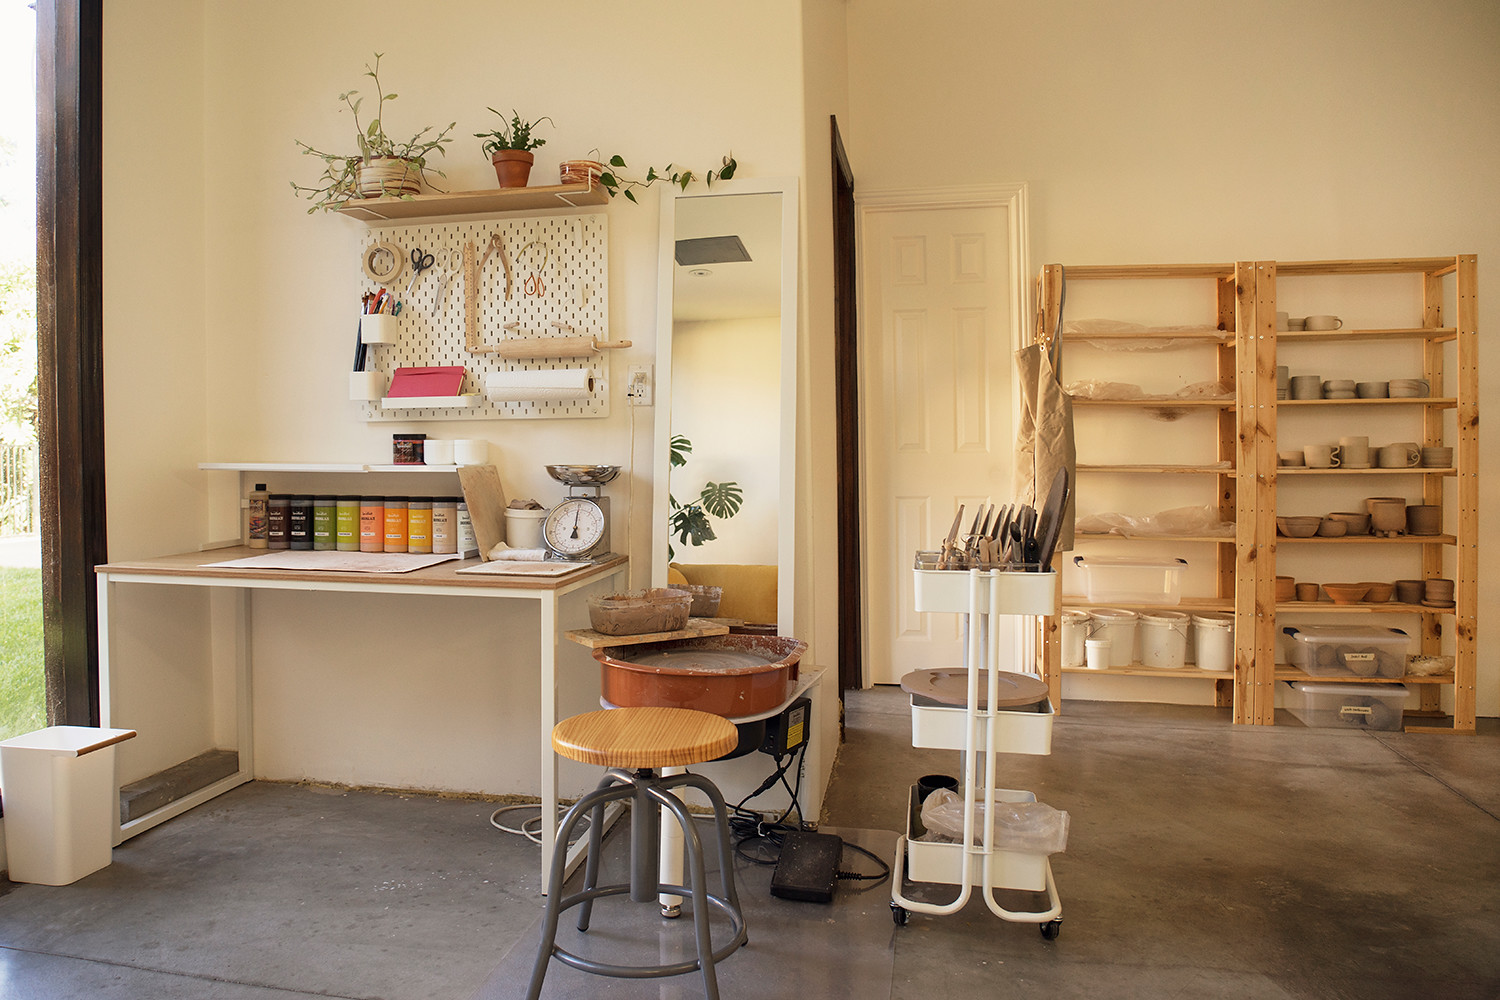
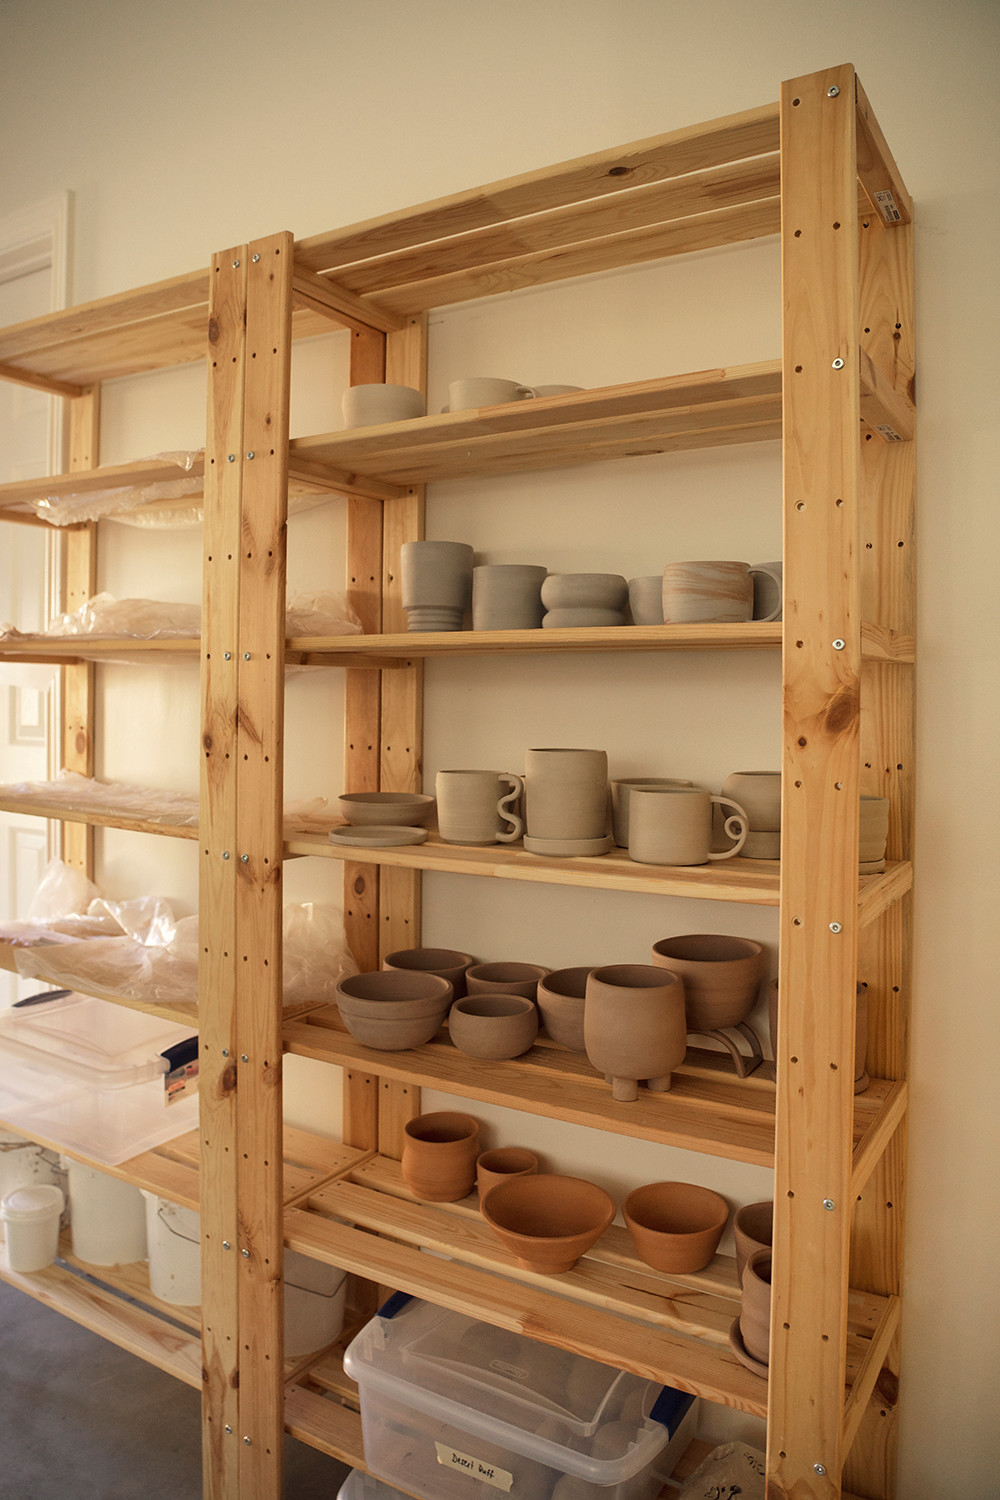
The garage space (or should I just call it my studio now?) is very spacious and gets great natural light so besides my work area, I wanted to create a lounging corner that is bright and inviting so when I am not throwing at the wheel or painting, I have a place to just hang out and relax. The first major piece of furniture I got for this space is this Floyd Sofa. I tend to gravitate toward neutral palette and with everything in the art studio being mostly white and wood, I wanted a pop of color and the 'Saffron' mustard yellow is perfect for the cheerful vibe I was going for. I also wanted to play a bit with texture so that's where the rug and the chair come in. The chunky braided wool rug is from Parachute Home and it feels as if you are walking on clouds. The mid century and modern Danish inspired chair is from Eternity Modern and I just love the woven details with the walnut finish. Not to mention, it's incredibly comfy! I also have few plants around the studio and this cute A-shaped/triangle shelf (also stacked with plants) to help separate the lounging area from the rest of the space. I won't write about every single items here but they are all listed and linked at the end of this post if you are interested.
 
04-home-art-pottery-studio-decor-diy-plants
05-home-art-ceramics-pottery-studio-decor-diy
06-home-art-ceramics-pottery-studio-decor-diy07-home-art-ceramics-pottery-studio-decor-diy

So, there you have it... the decor portion of my pottery studio! Part 2 will be a bit more technical as I dive into all the equipment and tools to set up my home studio. I will share with you the whole process from researching, planning, buying my own wheel, finding the best clays, etc. So stay tuned!
 
08-home-art-ceramics-pottery-studio-decor-diy
09-home-art-pottery-studio-decor-diy


Shop this post:


* Special shoutout to all my partners for being so patient with me during this process.

My Art / Pottery Studio: Part 1

July 15, 2021

01-home-art-pottery-studio-decor-diy-plants

This project has been a LOOONG time coming! So long that you might have forgotten that I first mentioned it over a year ago (if you follow me on Instagram). In February 2020, I started taking pottery classes at Still Life Studios in their new Santa Monica location and after 6 classes... BOOM! The pandemic hit. It was the end of March, I looked forward to going to the studio every week, I had finally gotten the hang of wheel throwing, I had just made my first planter completed with a saucer, I fell in love with ceramics, and then... all classes were cancelled. Not to sound dramatic but I felt like my dreams were being crushed.

Fast forward to June, my landlord told me he and his family were moving in July (they live in the backhouse, we live in the front/main house) and when they leave, I can have their garage. I was stoked because I immediately thought "I can do pottery in the garage!!!" Suddenly, I felt a huge sense of hope! The garage isn't your typical garage. It has floor to ceiling windows and french doors that open up to our backyard, a full bath, as well as a side door that opens up to the side of the house. Immediately, I started researching and planning how to set up my own home studio and what kind of equipment and tools I need.

July arrived and Covid cases were on the rise, so my landlord and his family have decided to hold off on moving until further notice. I also decided to hold off on planning because at that point, everything was up in the air and I had no idea when they would actually move or when I would have the garage. Long story short, they finally moved in November but they hadn't completely cleared out all their things in the garage but I began planning again and now an entire year later, I can finally say I have my studio 75% set up!!!

I debated a long time when to post about the studio because like many other home projects, it can never be truly complete. There will always be things you want to work on, change, and improve. So, I've decided to split it into two parts and share with you first the space and the decor side of things...
 
02-home-art-pottery-studio-decor-diy-plants03-home-art-pottery-studio-decor-diy-plants

The garage space (or should I just call it my studio now?) is very spacious and gets great natural light so besides my work area, I wanted to create a lounging corner that is bright and inviting so when I am not throwing at the wheel or painting, I have a place to just hang out and relax. The first major piece of furniture I got for this space is this Floyd Sofa. I tend to gravitate toward neutral palette and with everything in the art studio being mostly white and wood, I wanted a pop of color and the 'Saffron' mustard yellow is perfect for the cheerful vibe I was going for. I also wanted to play a bit with texture so that's where the rug and the chair come in. The chunky braided wool rug is from Parachute Home and it feels as if you are walking on clouds. The mid century and modern Danish inspired chair is from Eternity Modern and I just love the woven details with the walnut finish. Not to mention, it's incredibly comfy! I also have few plants around the studio and this cute A-shaped/triangle shelf (also stacked with plants) to help separate the lounging area from the rest of the space. I won't write about every single items here but they are all listed and linked at the end of this post if you are interested.
 
04-home-art-pottery-studio-decor-diy-plants
05-home-art-ceramics-pottery-studio-decor-diy
06-home-art-ceramics-pottery-studio-decor-diy07-home-art-ceramics-pottery-studio-decor-diy

So, there you have it... the decor portion of my pottery studio! Part 2 will be a bit more technical as I dive into all the equipment and tools to set up my home studio. I will share with you the whole process from researching, planning, buying my own wheel, finding the best clays, etc. So stay tuned!
 
08-home-art-ceramics-pottery-studio-decor-diy
09-home-art-pottery-studio-decor-diy


Shop this post:


* Special shoutout to all my partners for being so patient with me during this process.
01-cherry-clafoutis-dessert-recipe-food


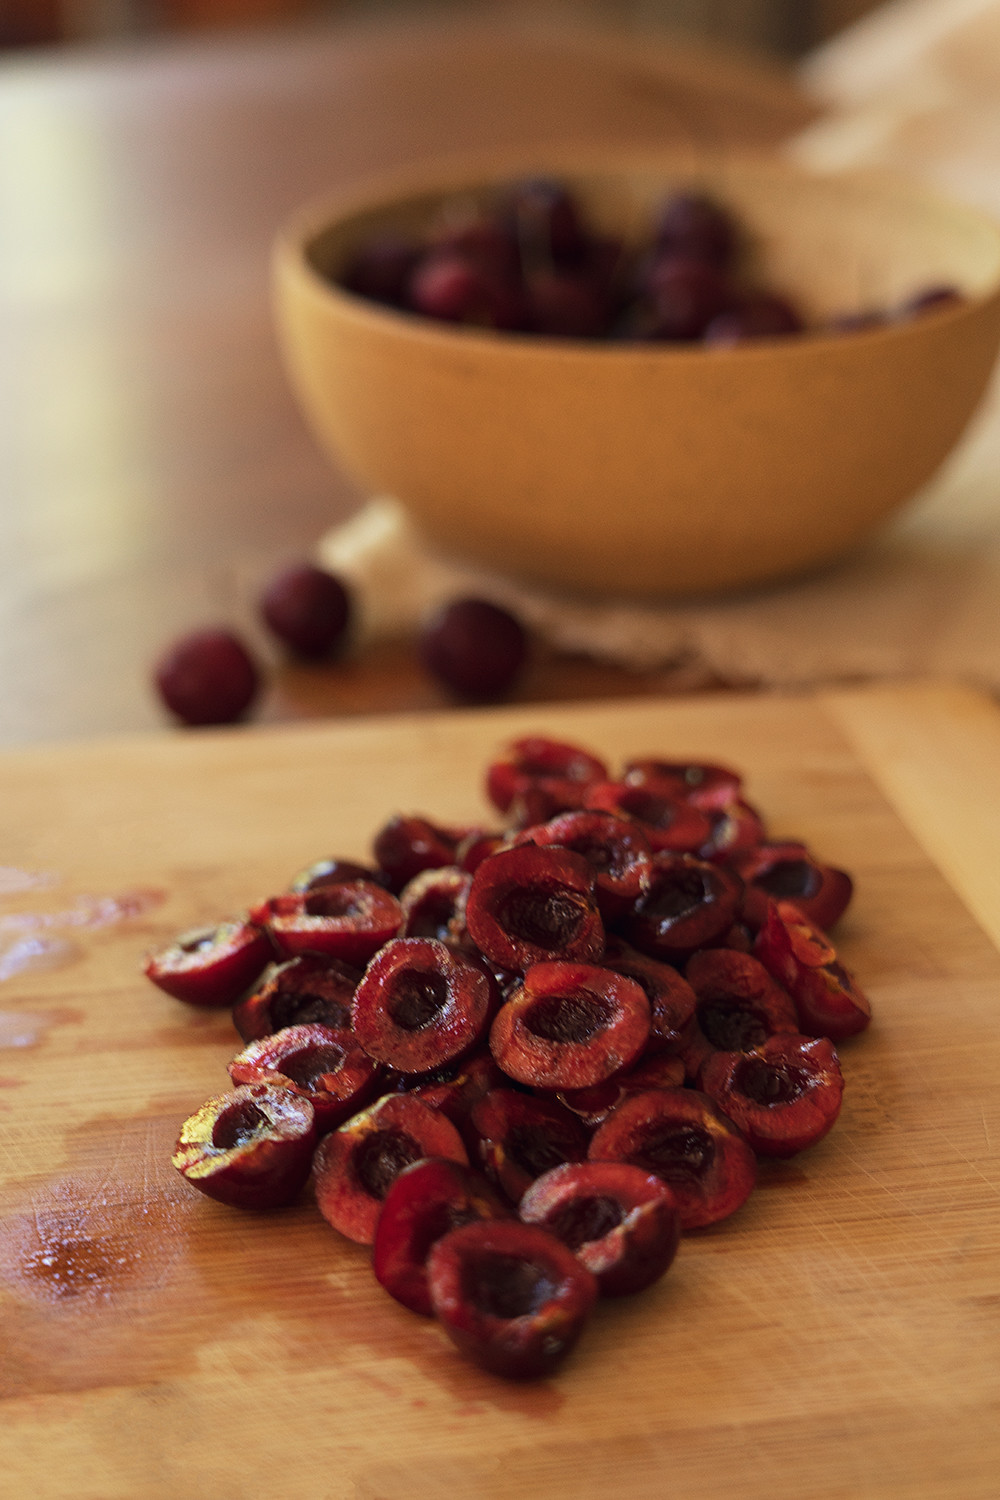
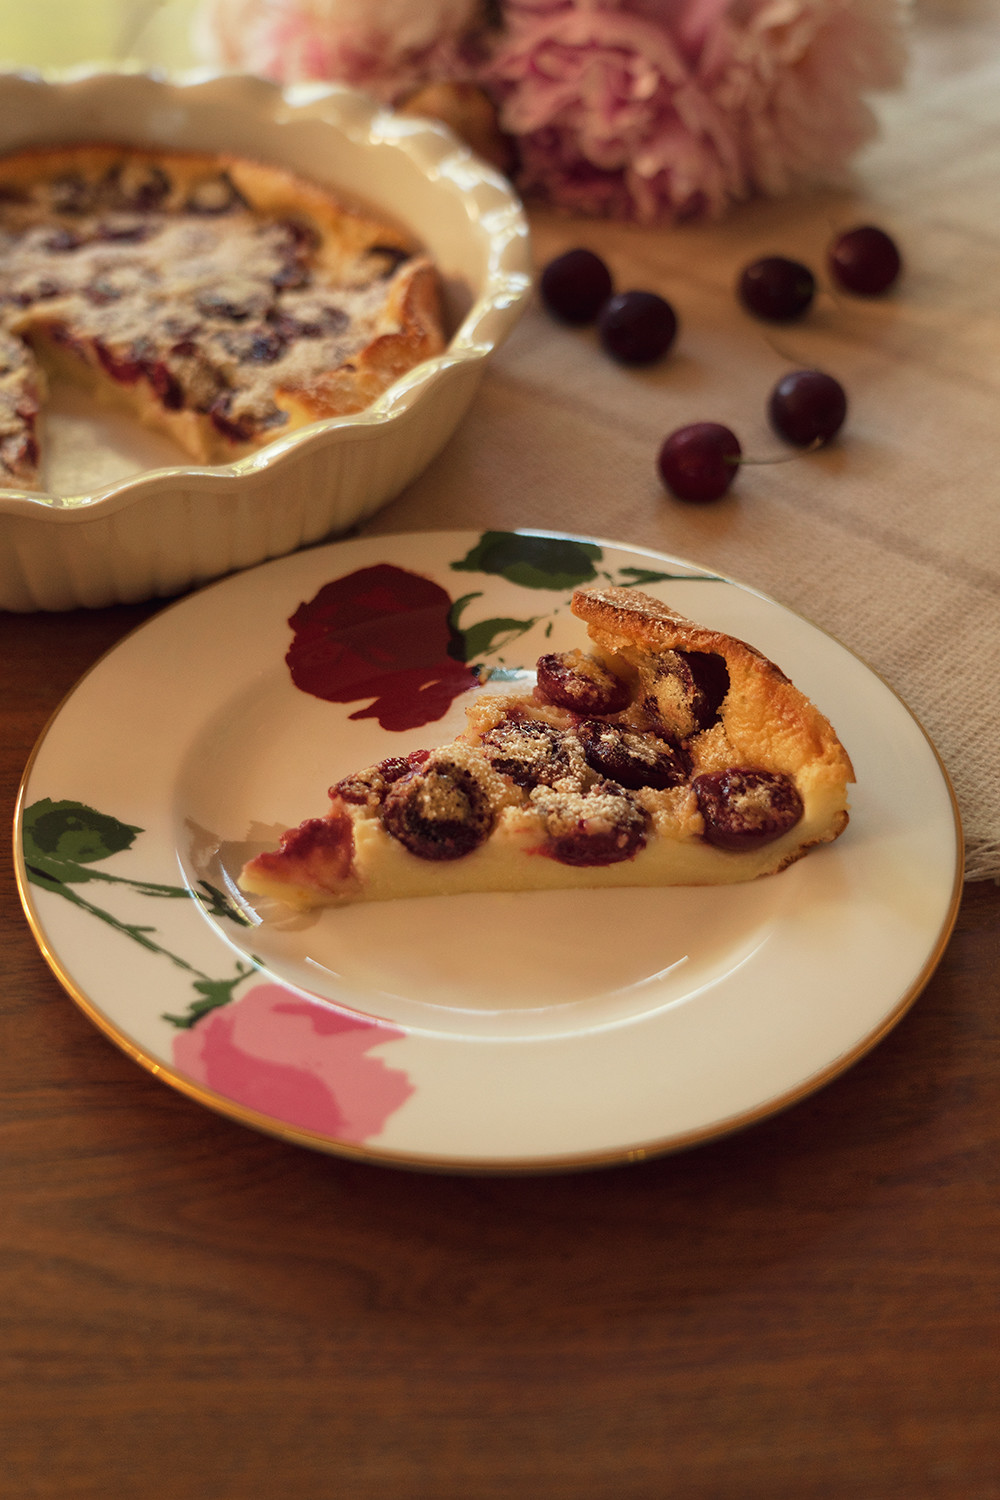
If flan and custard had a baby, it would be a clafoutis. Clafoutis is a baked French dessert, traditionally with black cherries, covered with a thick flan-like batter. It is usually served warm or at room temperature dusted with powdered sugar. When I first came across this dish, my immediate thought was, "Wow that looks amazing but it looks complicated to make." I sure was wrong! Clafoutis is super easy to make with simple ingredients and the baking time is only 35 minutes. If anything, the only time consuming part of this recipe is removing the pits from the cherries...


Ingredients:
- 1 and 1/2 cup cherries (halved and pits removed)
- 2 tbsp butter (melted)
- 4 eggs 
- 1 cup milk
- 1/2 cup granulated sugar
- 2 tsp almond extract
- 3/4 cup flour
- 1/2 tsp salt
- Powdered sugar

Directions:
1. Preheat oven to 350F 
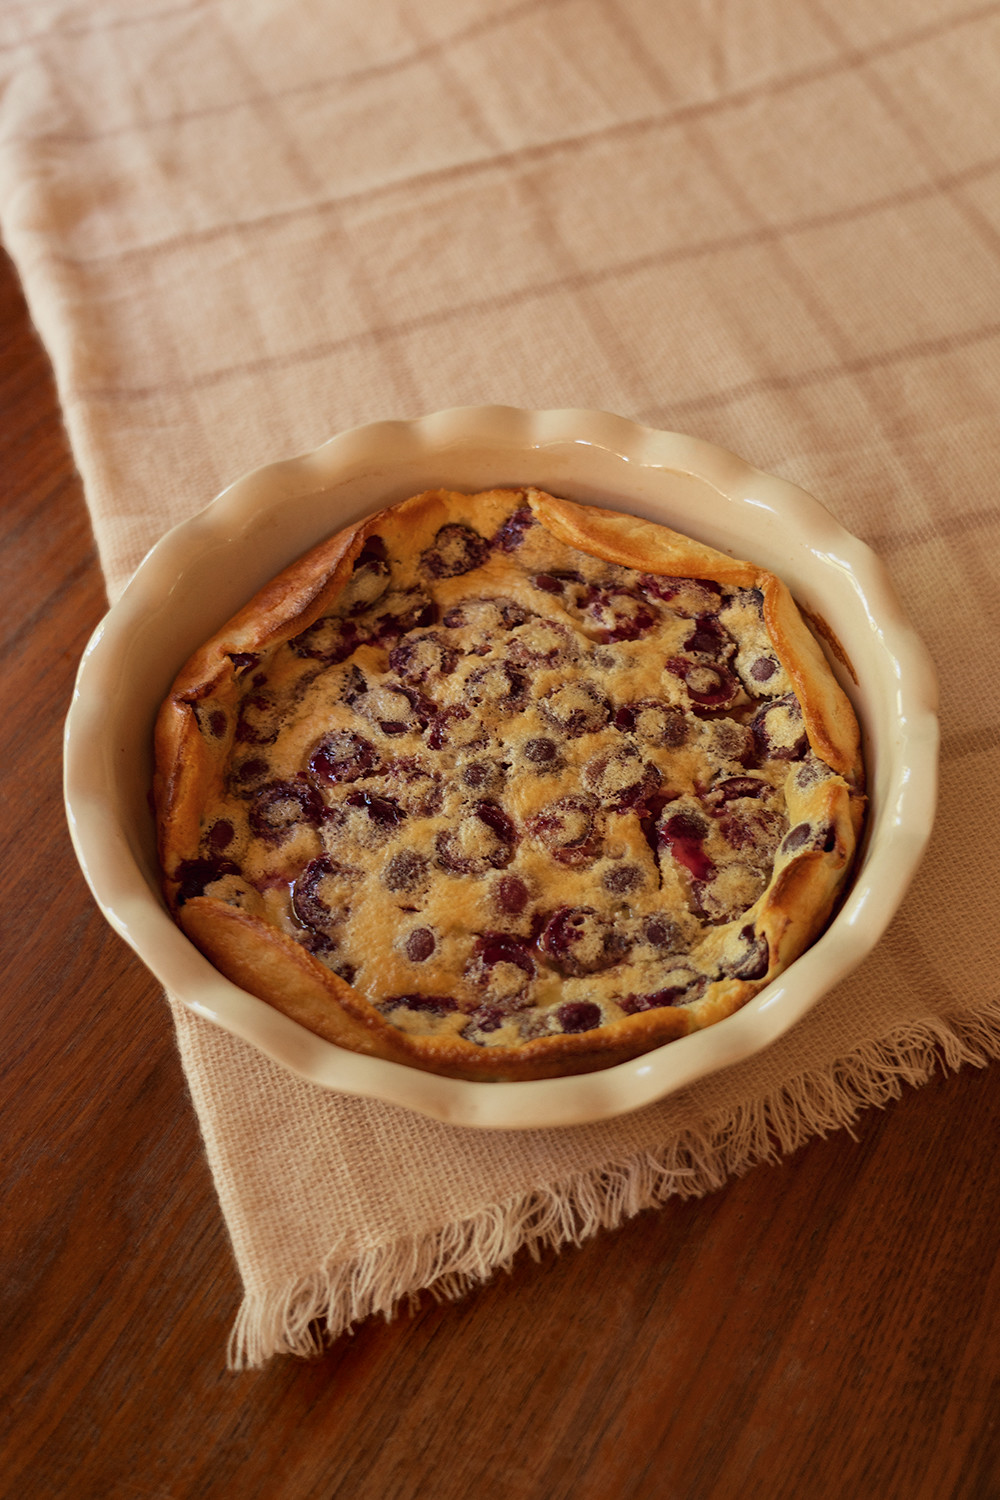
2. Cut cherries in halves and remove the pits. Set aside.
3. Grease a 9" round baking dish with the melted butter and spread the cherries evenly in the dish.
4. Blend the eggs, milk, granulated sugar, almond extract, flour and salt in a blender until smooth. No need to worry about over-mixing the gluten here, you want the batter to be really well incorporated.
5. Pour batter over the cherries.
6. Bake in the oven for 35 minutes.
7. Let cool for 10 minutes before dusting with powdered sugar.
8. Serve warm or at room temperature.

02-cherry-clafoutis-dessert-recipe-food
03-cherry-clafoutis-dessert-recipe-food04-cherry-clafoutis-dessert-recipe-food
05-cherry-clafoutis-dessert-recipe-food06-cherry-clafoutis-dessert-recipe-food
07-cherry-clafoutis-dessert-recipe-food08-cherry-clafoutis-dessert-recipe-food

Recipe: Cherry Clafoutis

July 9, 2021

01-cherry-clafoutis-dessert-recipe-food


If flan and custard had a baby, it would be a clafoutis. Clafoutis is a baked French dessert, traditionally with black cherries, covered with a thick flan-like batter. It is usually served warm or at room temperature dusted with powdered sugar. When I first came across this dish, my immediate thought was, "Wow that looks amazing but it looks complicated to make." I sure was wrong! Clafoutis is super easy to make with simple ingredients and the baking time is only 35 minutes. If anything, the only time consuming part of this recipe is removing the pits from the cherries...


Ingredients:
- 1 and 1/2 cup cherries (halved and pits removed)
- 2 tbsp butter (melted)
- 4 eggs 
- 1 cup milk
- 1/2 cup granulated sugar
- 2 tsp almond extract
- 3/4 cup flour
- 1/2 tsp salt
- Powdered sugar

Directions:
1. Preheat oven to 350F 
2. Cut cherries in halves and remove the pits. Set aside.
3. Grease a 9" round baking dish with the melted butter and spread the cherries evenly in the dish.
4. Blend the eggs, milk, granulated sugar, almond extract, flour and salt in a blender until smooth. No need to worry about over-mixing the gluten here, you want the batter to be really well incorporated.
5. Pour batter over the cherries.
6. Bake in the oven for 35 minutes.
7. Let cool for 10 minutes before dusting with powdered sugar.
8. Serve warm or at room temperature.

02-cherry-clafoutis-dessert-recipe-food
03-cherry-clafoutis-dessert-recipe-food04-cherry-clafoutis-dessert-recipe-food
05-cherry-clafoutis-dessert-recipe-food06-cherry-clafoutis-dessert-recipe-food
07-cherry-clafoutis-dessert-recipe-food08-cherry-clafoutis-dessert-recipe-food
01-nasturtium-pesto-homegrown-farmtotable-recipe-food


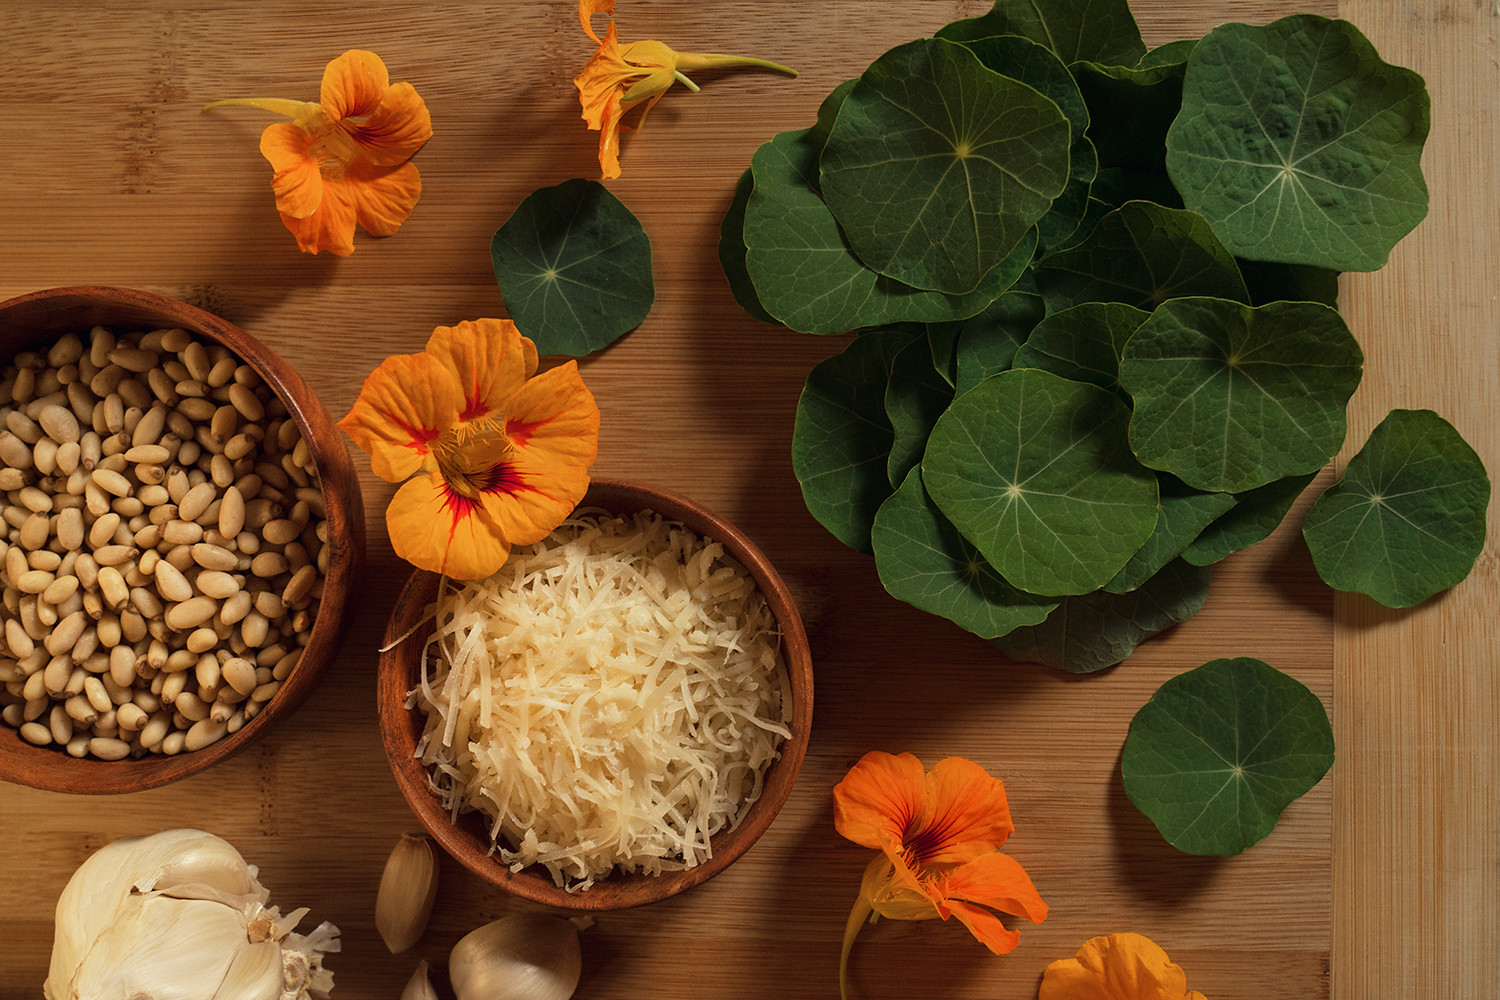
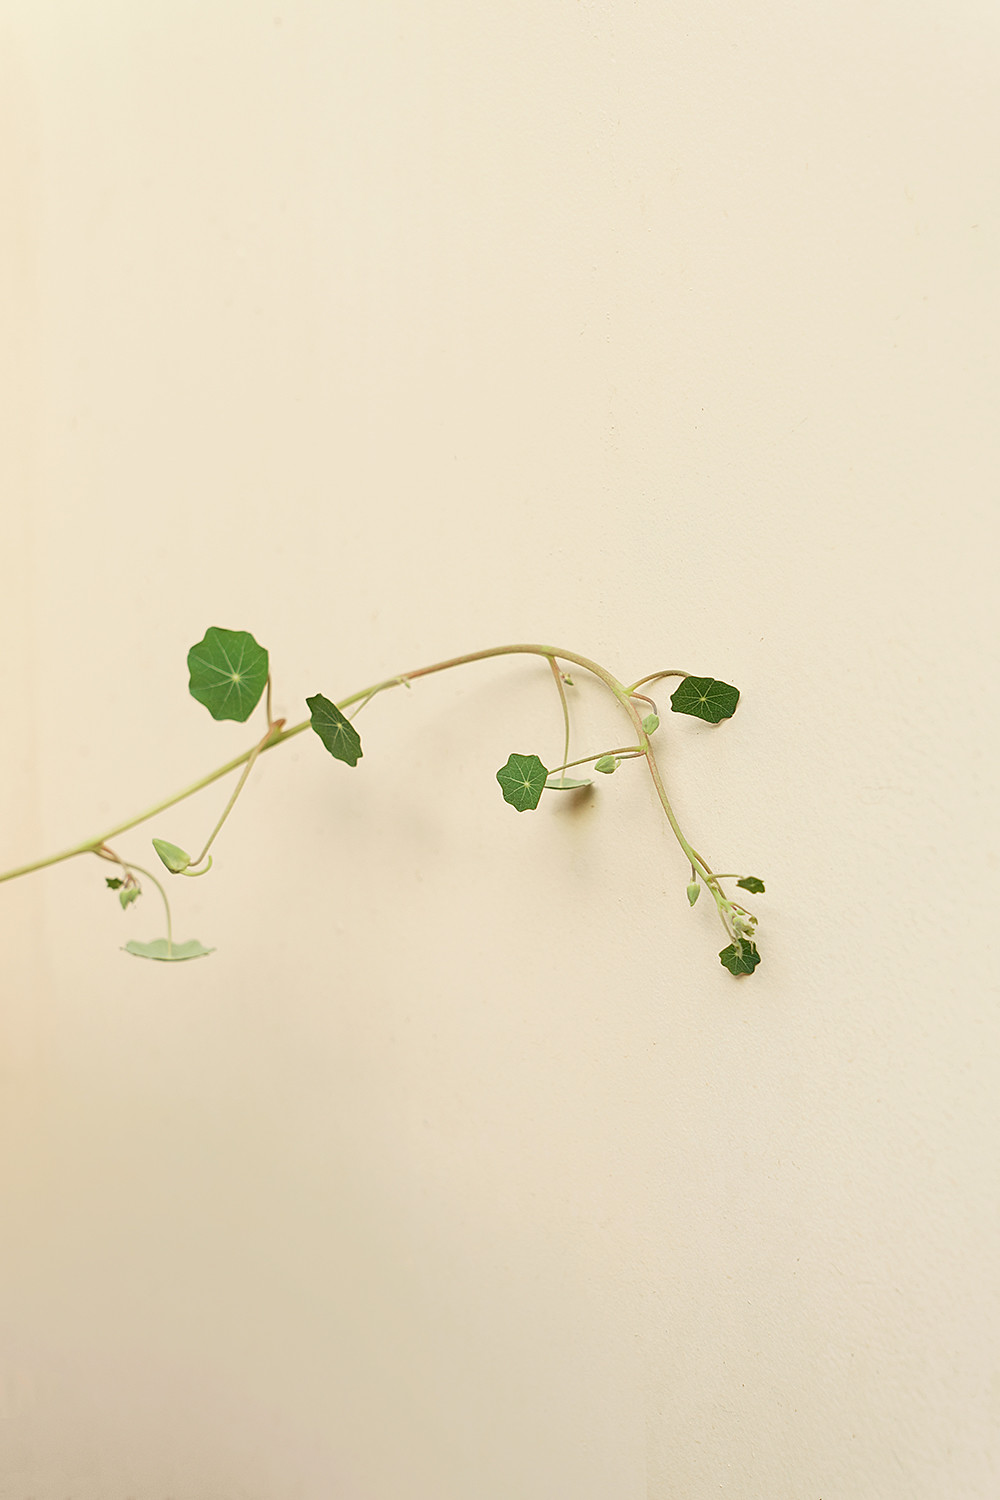
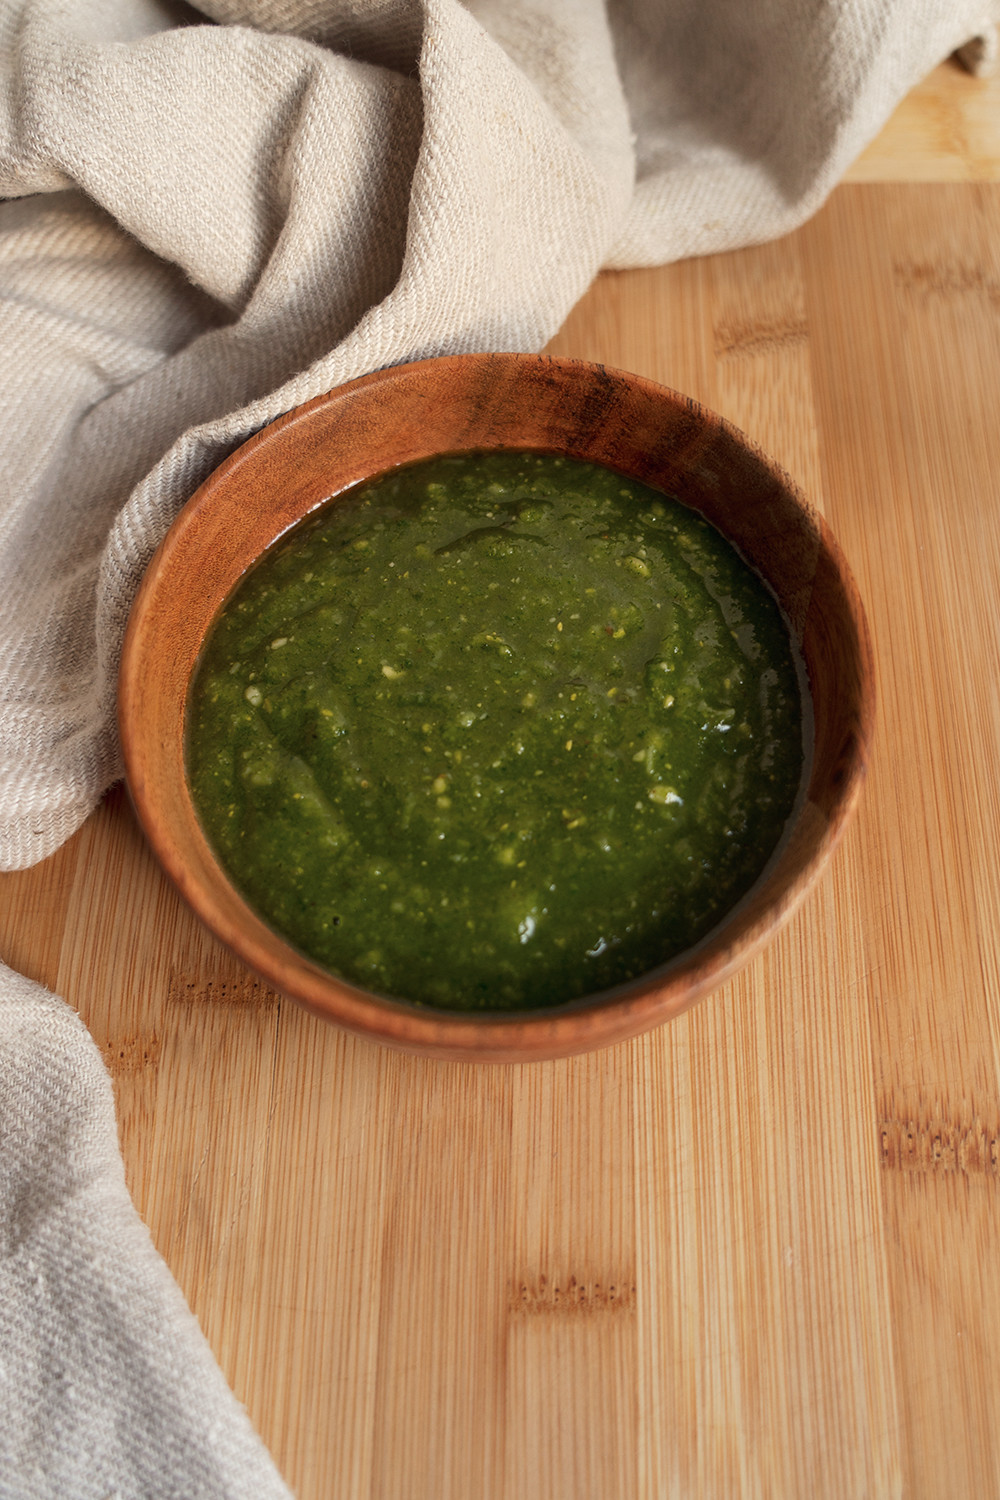
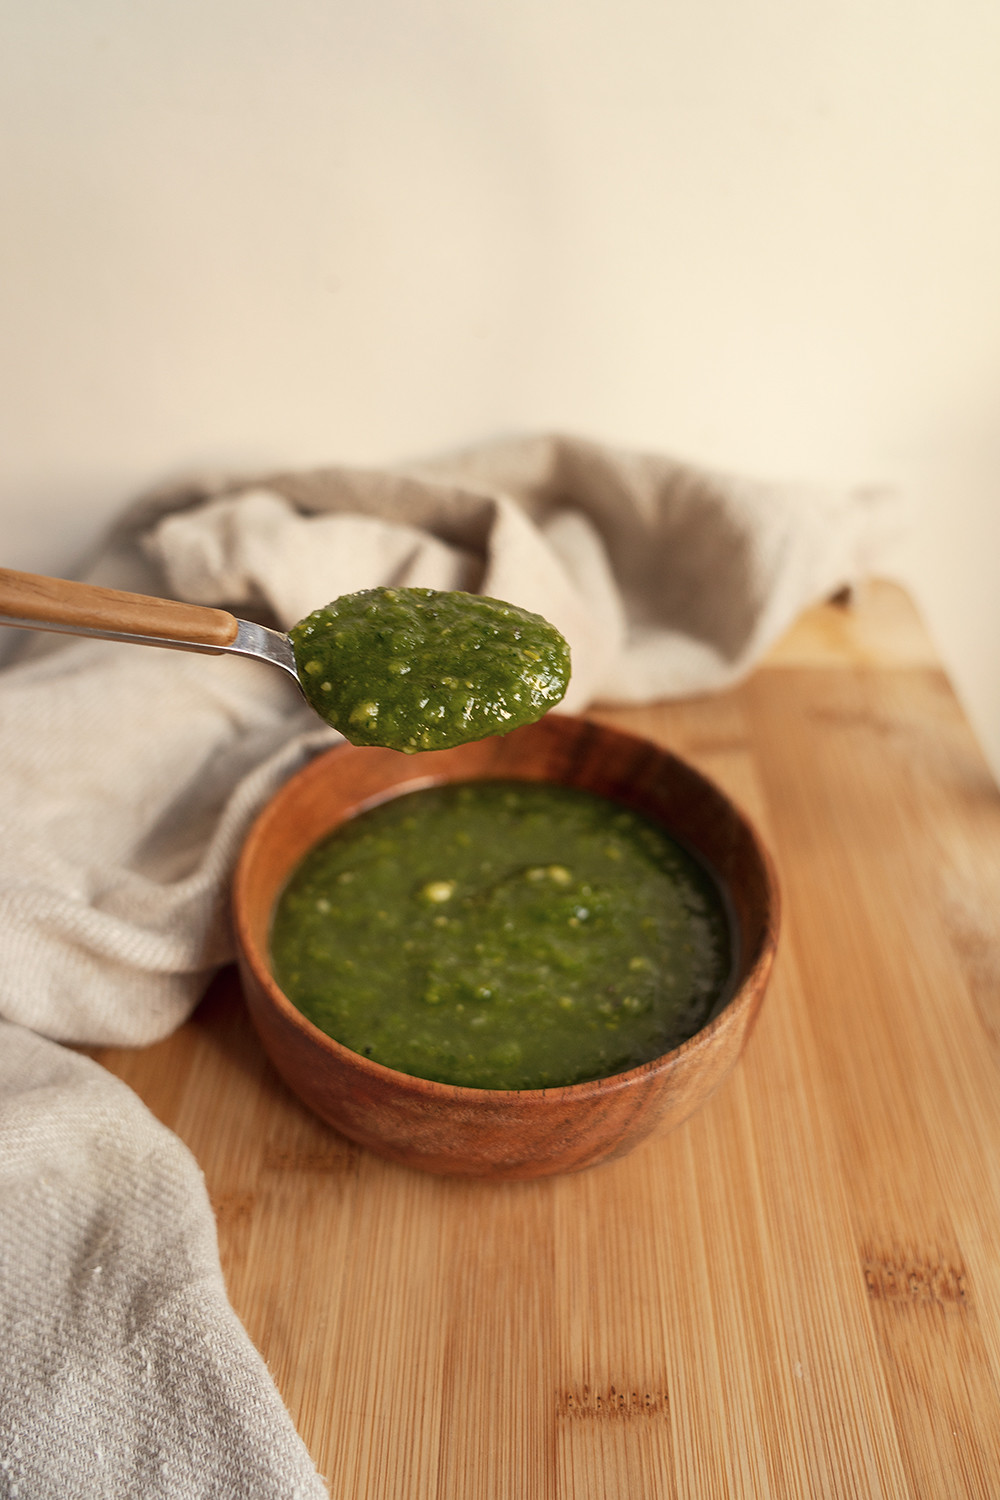
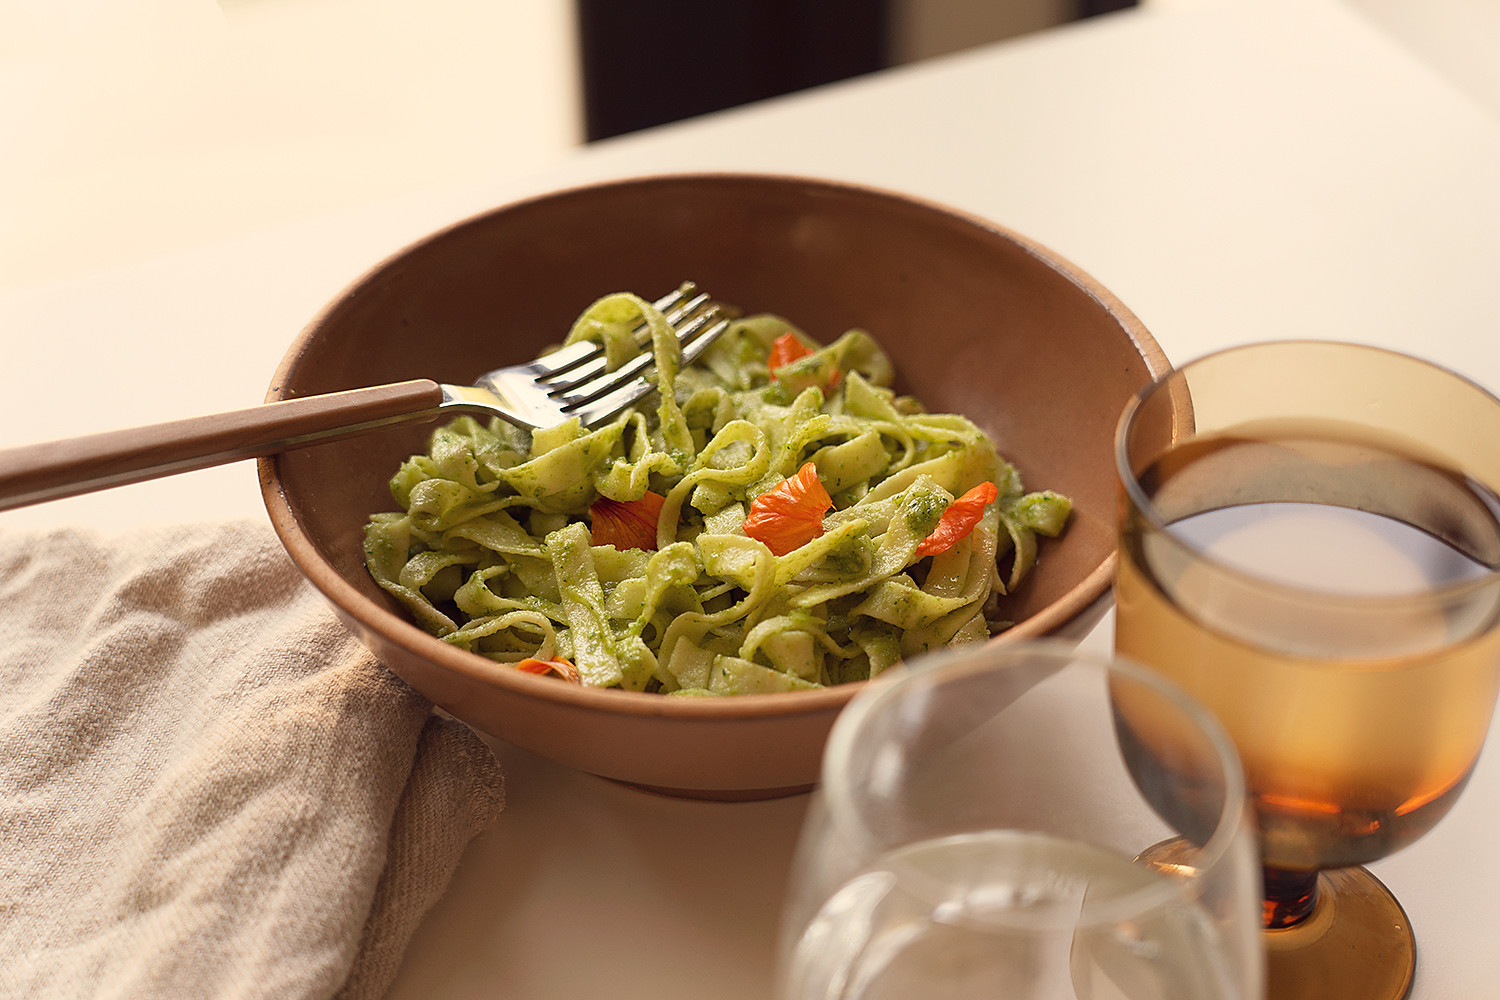
What is Nasturtium? I, too, was unfamiliar with this name until just a few months ago. As soon as I discovered it though, I immediately went and got some for my backyard! Nasturtium is a very easily grown plant in which all the leaves, stems, and flowers are edible. Honestly, before I knew this, I just thought it looks super cute... with its perfectly rounded leaves resembling mini lily pads, beautiful vibrant flowers in shades of marigold, orange and red, and some varieties even have variegated leaves! Not only is Nasturtium visually stunning, it is highly nutritious too. The leaves are high in vitamin C, iron and other minerals and the flowers are rich in vitamins B1, B2, B3 and C and also contain manganese, iron, phosphorus and calcium. Taste wise, it's peppery (kinda like arugula) and a little mustardy, perfect for salads and pesto. Speaking of pesto, that is what I'll be showing you how to make today on this recipe post!


Ingredients:
- 2 cups Nasturtium leaves and flowers
- 1 cup pine nuts
- 1 cup shredded parmesan cheese
- 4 cloves of garlic
- 1 cup olive oil
- Pinch of salt

Directions:
1. Soak leaves and flowers in a bowl of cold water and wash them thoroughly.
2. Put all ingredients in a blender and blend until smooth.

* Drizzle more olive oil if the mixture is too thick. Add more pine nuts or cheese if it's too thin.
* Serve pesto over pasta, sandwiches, or omelettes!
* Pesto can be stored in the fridge for up to a week!


02-nasturtium-pesto-pasta-homegrown-farmtotable-recipe-food03-nasturtium-pesto-pasta-homegrown-farmtotable-recipe-food
04-nasturtium-vegetables-garden-homegrown-farmtotable-recipe-food05-nasturtium-vegetables-garden-homegrown-farmtotable-recipe-food
06-nasturtium-vegetables-garden-homegrown-farmtotable-recipe-food07-nasturtium-pesto-homegrown-farmtotable-recipe-food
08-nasturtium-pesto-homegrown-farmtotable-recipe-food
09-nasturtium-pesto-homegrown-farmtotable-recipe-food10-nasturtium-pesto-homegrown-farmtotable-recipe-food
11-nasturtium-pesto-pasta-homegrown-farmtotable-recipe-food
12-nasturtium-pesto-pasta-homegrown-farmtotable-recipe-food

Recipe: Nasturtium Pesto

July 1, 2021

01-nasturtium-pesto-homegrown-farmtotable-recipe-food


What is Nasturtium? I, too, was unfamiliar with this name until just a few months ago. As soon as I discovered it though, I immediately went and got some for my backyard! Nasturtium is a very easily grown plant in which all the leaves, stems, and flowers are edible. Honestly, before I knew this, I just thought it looks super cute... with its perfectly rounded leaves resembling mini lily pads, beautiful vibrant flowers in shades of marigold, orange and red, and some varieties even have variegated leaves! Not only is Nasturtium visually stunning, it is highly nutritious too. The leaves are high in vitamin C, iron and other minerals and the flowers are rich in vitamins B1, B2, B3 and C and also contain manganese, iron, phosphorus and calcium. Taste wise, it's peppery (kinda like arugula) and a little mustardy, perfect for salads and pesto. Speaking of pesto, that is what I'll be showing you how to make today on this recipe post!


Ingredients:
- 2 cups Nasturtium leaves and flowers
- 1 cup pine nuts
- 1 cup shredded parmesan cheese
- 4 cloves of garlic
- 1 cup olive oil
- Pinch of salt

Directions:
1. Soak leaves and flowers in a bowl of cold water and wash them thoroughly.
2. Put all ingredients in a blender and blend until smooth.

* Drizzle more olive oil if the mixture is too thick. Add more pine nuts or cheese if it's too thin.
* Serve pesto over pasta, sandwiches, or omelettes!
* Pesto can be stored in the fridge for up to a week!


02-nasturtium-pesto-pasta-homegrown-farmtotable-recipe-food03-nasturtium-pesto-pasta-homegrown-farmtotable-recipe-food
04-nasturtium-vegetables-garden-homegrown-farmtotable-recipe-food05-nasturtium-vegetables-garden-homegrown-farmtotable-recipe-food
06-nasturtium-vegetables-garden-homegrown-farmtotable-recipe-food07-nasturtium-pesto-homegrown-farmtotable-recipe-food
08-nasturtium-pesto-homegrown-farmtotable-recipe-food
09-nasturtium-pesto-homegrown-farmtotable-recipe-food10-nasturtium-pesto-homegrown-farmtotable-recipe-food
11-nasturtium-pesto-pasta-homegrown-farmtotable-recipe-food
12-nasturtium-pesto-pasta-homegrown-farmtotable-recipe-food
© it's not her, it's me. - Los Angeles Fashion Lifestyle Travel Blog. Design by Fearne.